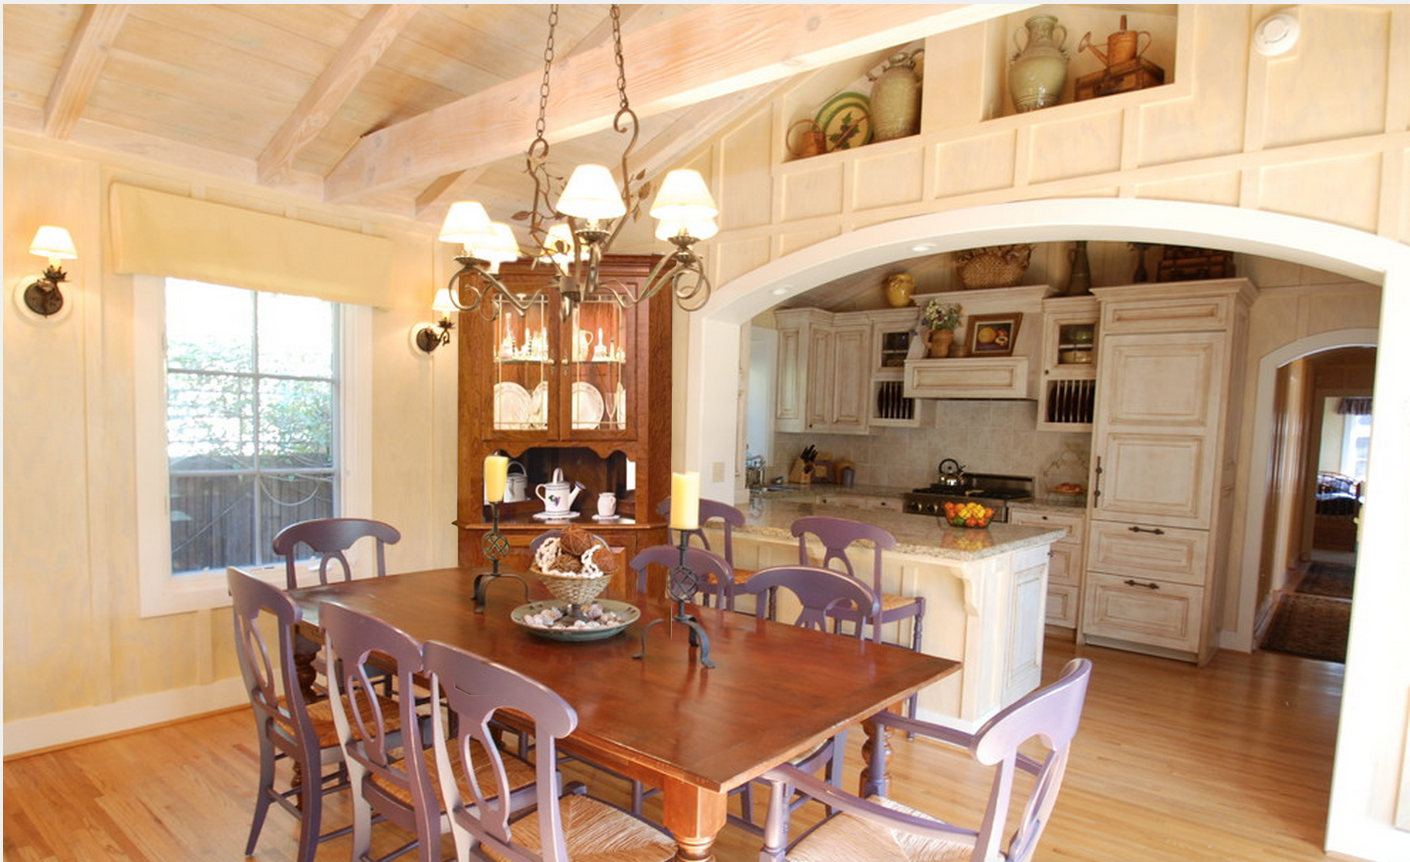
5 Easy Ways to Organize a Display-Worthy Corner Hutch
It’s not that it’s hard to organize a corner hutch in your dining room or kitchen, it’s just that, well it’s such an easy task to overlook.
Your corner hutch is, after all, tucked into a corner. It’s meant to blend in, meant to store the antique china, the beautiful dinnerware, the crystal goblets and the genuine silver silverware that you don’t use very often. So – first and foremost – give yourself a break. Only noticing your corner hutch cabinet when it becomes a noticeable problem is the #1 way to start solving it!
Step 1 – Clear the corner hutch cabinet out.
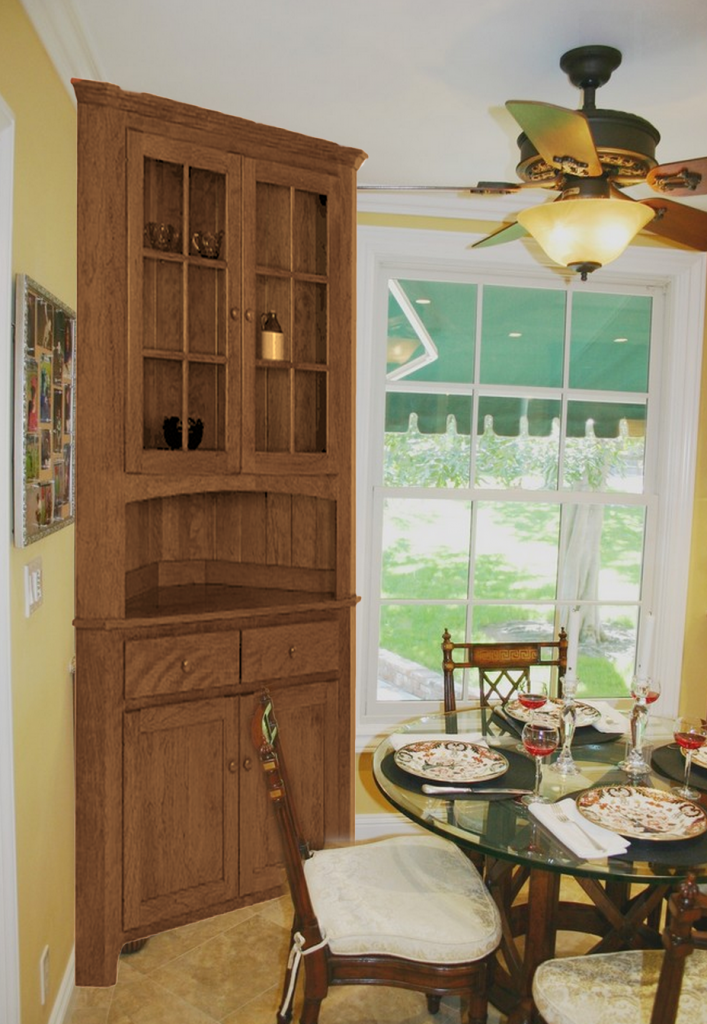
A smaller dining space just adores a corner hutch that will hold all the necessities – click to shop!
You knew that this was coming. Top to bottom, behind all doors, across all shelves – just empty, dust, and clean the whole thing – then take a deep breath. Realize that with all of your fine china out of the corner hutch and on meantime display (probably on your dining room table or floor, but no one is judging) you can easily spot the bad apples, or the pieces that just don’t belong.
The tricky thing about corner furniture is that it often ends up a catch-all for things that don’t have a spot – you remember, “A place for everything and everything in its place.”
So find some places, or you can box up the leftovers for alternate storage, or even start giving some of you less-treasured pieces away to family and friends. Above all, if one of your primary corner hutch problems was overcrowding, don’t put everything back into the hutch. Give your outstanding collections and items space to breathe in there.
[Tweet “”A place for everything and everything in its place” is easier said than done until you try this:”]
Step 2 – Start with the Stemware in your Corner Hutch.
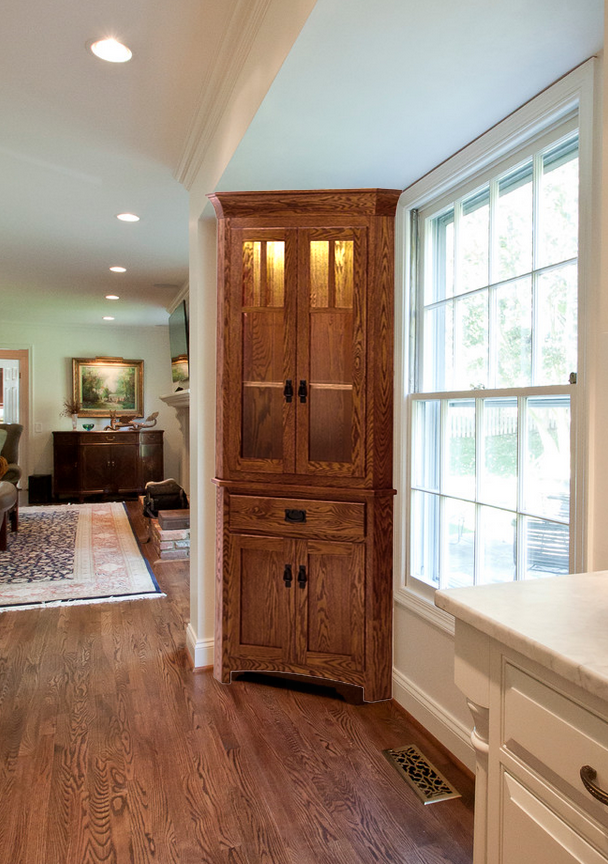
Touch lighting above the top shelf really shows off your glass, crystal or otherwise glittery pieces – click to shop this look!
Or the glasses. Or the goblets. Or the fancy decanter. Anything with glint and gleam and sparkle and shimmer should head right to the top of the dining room corner hutch, where they’ll be closest to your dining room or kitchen light source. Many of our Amish corner hutches include touch lighting at the top of the hutch for this very reason – we want your collections to shine literally!
Step 3 – Plate-d Gold for your Corner Hutch
Our Amish woodworkers typically make the second and third shelves of your corner dining hutch for plates – most of our corner hutch cabinets include shelves with deep ridges at the back of the shelves for just this purpose. Overall, you want the appearance of plates leaning against the back of the hutch, and not stacked vertically (that’s what the closed shelving at the bottom of the hutch is for). Think of these plates like wallpaper, or a backdrop, as you’ll likely be placing smaller items in front of them on the shelf.
No plates? Try large framed pictures or sculptures.
Step 4 – No Teetering Teacups in that Corner Hutch!
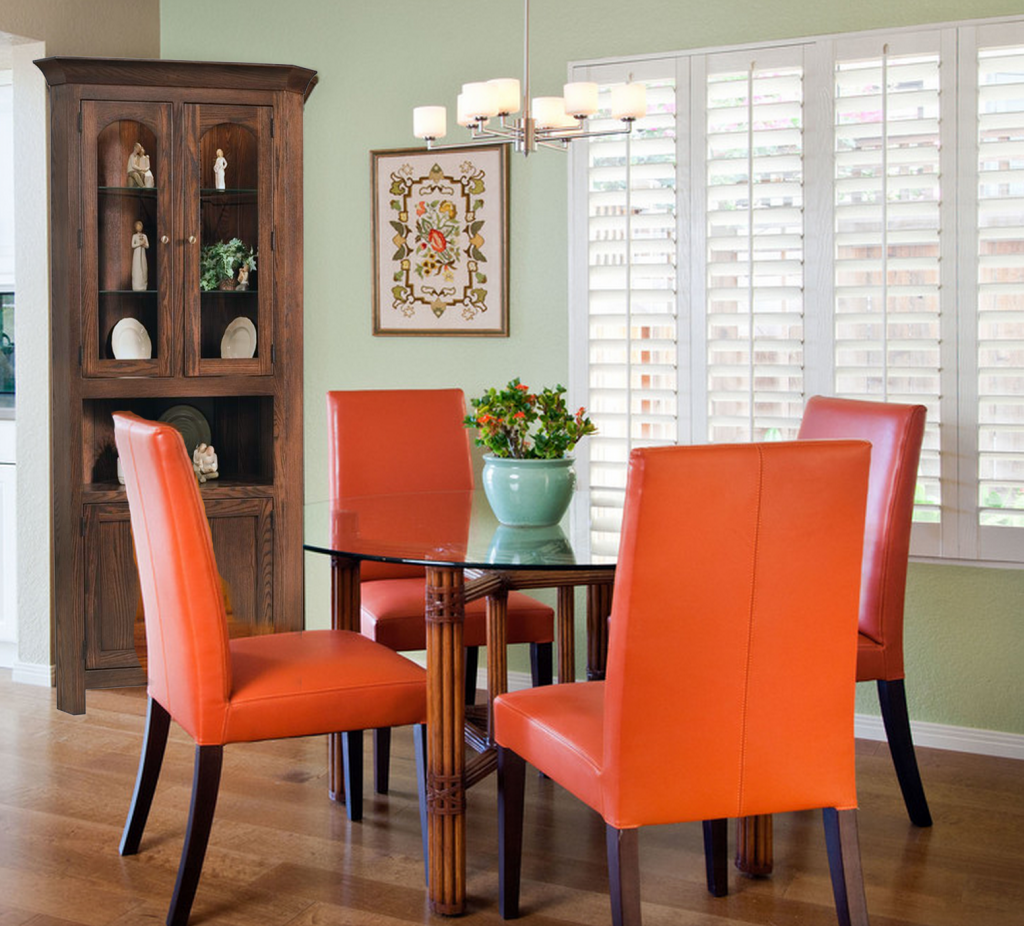
A bold look is tempered by a sweet, figurine-filled corner hutch for contrast that hits all the right notes – click to shop!
You’ll find that most people put their teacups and saucers in front of their matching plates on the second and third shelf of the corner kitchen hutch. Personally? I find that pretty matchy-matchy – yet the look is adorable at the same time. I don’t want to like it, but I do – the traditional, slightly kitschy set up not only makes perfect sense from an organizational standpoint, but it also manages to walk that fine line of homey and stylish. Feeling modest? Flowery cups & plates. Feeling a little more art deco? Just change out the wares for a whole new attitude.
That said, please do not stack teacups like lopsided pancakes inside of your corner hutch. It makes everyone nervous for the day they drop something heavy in the dining room, only to hear the vicious crash of a dozen beautiful teacups shattering behind them. You should save room in the closed shelving at the bottom of your hutch to properly lay out your extra pieces.
A more common problem is the rattling of the delicate cups against the saucers they rest upon, or against glass shelving. Simple solution: any layer between the two. A felt cloth, a coffee filter, a paper towel – all of these things will rid you of the rattle.
[Tweet “Here’s how to solve that teetering teacup problem in your corner hutch”]
Step 5 – A Corner Hutch Helps you Store Smart.
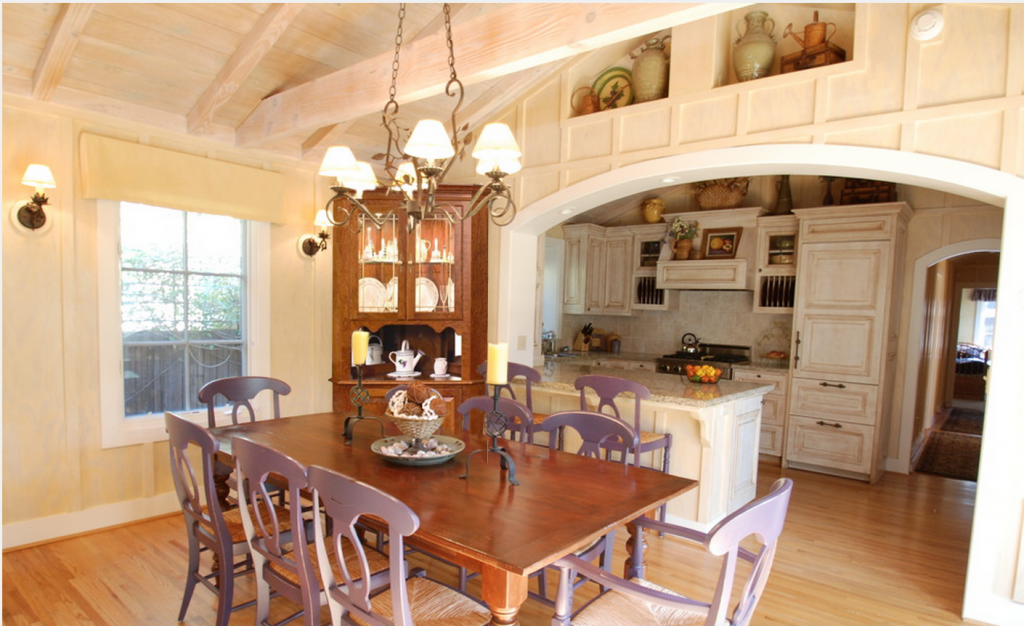
Plenty of organized room to hold all of your serving and dining needs – a corner hutch feels just right in this open, cottage setting – click to shop!
Closed shelving does not have to equal mass disarray. Keep your dining room corner hutch fully functional, neat, and tidy by arranging shelves that make sense. If you have a drawer, use it for linens, extra napkins, and placemats. Roll up extra flatware, or store the silverware box, with vertically stacked plates (with a separator) on top on the shelves. Keep smaller items (e.g., fancy salt & pepper shakers) in the front of the stacks for quick grabs.
Your solid wood corner hutch should be a meaningful reflection of things you love and things you find quite useful (even only a few times per year) – show it some organizing love, and it will pay you back in beauty and function.



Hello,Jayca ! This message and inquiry from John Strattan, Cabinet Maker, in Middletown,Kentucky 40243 ( on 6 August 2018
For years I have been trying to finda step front Shaker style (linen-china) cabinet, which my mother had and probably bought from a relative in central Indiana. I so loved the piece that I had plans for it when I got out of the Air Force (1958) and was going to make it “my cabinet” for my dining room…along with all of its similiar “Friends”….but alas my mother ‘modernized’ things and this beautiful cabinet probably wet to the Good Will store along with a beautiful bow from china cabinet….I was absolutely destroyed.
I became a cabinet maker out of need…working on the 100 year old farm house, making furniture (from wood harvested on the property, as well as small artifacts and tools, etc.
I knew I had the capability of reproducing the step front linen/china cabinet—even to the wavy glass upper doors and the solid raised panel botton doors. My target cabinet had two drawers just below the step front shelf….wood was walnut stained poplar…although I had proposed to make mine out of cherry and stain it walnut….NOT as authentic as the original.
I had seen the “architecture” (design) of my cabinet on the fronts of corner cabinets,Shaker, Kentucky made ca 1830’s 40’s…and kept looking for the perfect example of “my “step front cabinet…where I would measure it exactly and reproduce it…even down to hand cut dovetails for front side panels of drawers. I could never exactly find the cabinet…but I know it must exist…it was too pretty and clean of a design to have only one of them be made.
Have you and clue, Jayca, as to what I am talking about…and where I might see a true example of it….I’m getting just about to the end of my cabinet making skills (that adult Macular Degeneration!) so I’d better get on it or forget it. Was hoping you could help! With greatest thanks, John Strattan
Hi John. Thank you for sharing. Your project sounds wonderful. We have many shaker style hutch cabinets. You can view them by clicking on this link. https://www.dutchcrafters.com/Dining-Storage/cat/739?Style=Shaker Thank you for sharing with us. We wish you success with your project!
I have a huge corner cabinet from my husband’s grandmother and there is no light in it. Can you recommend a simple one to install that might give the top shelf some light?
Hi Susan,
Thank you for your question. While we don’t have a specific product to recommend, we can tell you that our Amish craftsmen use LED lights in their hutches. They should be available at your local home improvement store.
Thanks so much for visiting us on Timber to Table!